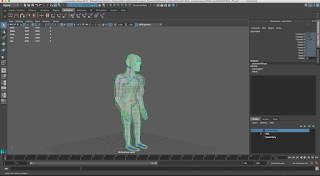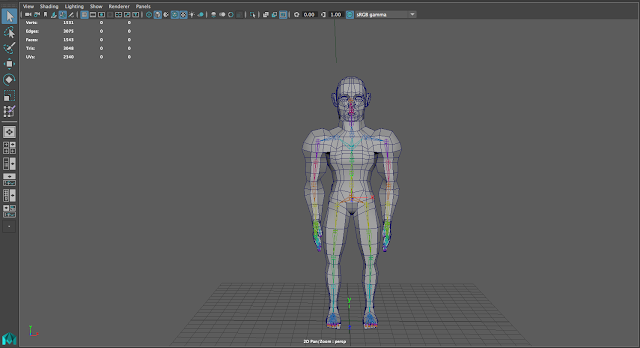
Hey guys, in this blog I'm going to talk about the basics of painting weights on a rig. In the left image I have my model with a rig skinned to it. If you have a rig but haven't skinned it to your model yet, you can skin it by going to the drop down menu on the upper left and selecting the "Rigging" option. From here go to the top menu, and select Skin->Bind Skin.

This is how your model should appear when skinned. The joints should be in a rainbow like patter and the edges of the model rather dark. The weight tool allows you to control what joints control what part of your model. You paint these weights, and they can either restrict movement or allow a join to control a part of the model. Lets get into using the "Paint Skins Weights" tool.
The tool can be found under "Skin-> (Weight Maps)-> Paint Skin Weights."

The Tool will appear on your side toolbar as a square with a purple paintbrush. Double-click the tool.
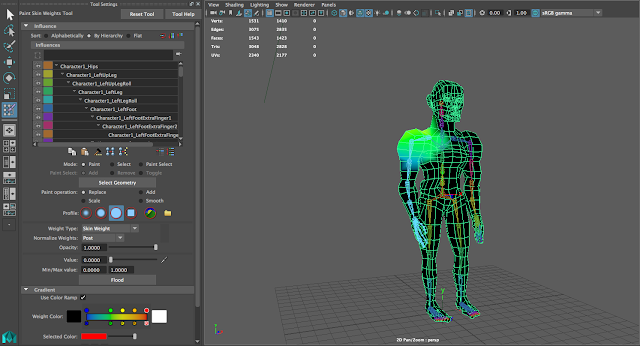
Here we have the Paint Weight interface. There are several options located in this interface that we will go over later. Joints that can be painted will be located under influences, but if we notice, there are no joints found. Why? We need to select our model first, and then go to the paint weights tool.

Now that we have our model selected, we can see the list of joints inside our model, and the area they affect. In this case, I have the joint where the right clavicle should be selected. We can shades of color in near this area. This is the area this particular joint controls when moved. The shades of color resemble how much of this area is being controlled on the scale of black being 0% control, and white, being 100% control.
The blue resembles little control, and the red is near 100% control. For this "tutorial" we are going to go ahead and turn color ramp on. It's more vivid, and allows you to have more control over your model.
This is the join hierarchy. We can select joints and see what areas they affect here.
I am not going to go too in depth with this tutorial, so I will only explain the "paint operations," "value," and the first 3 "profiles." When you start to paint your paintbrush will have a value set. When you paint, you are technically painting a value over the model. 0.0000 is no influence, and 1.000 is 100% influence. You can select ranges between these values and give some control to the joint. It really depends on what you need. Replace, under paint operation, replaces a value already set on the model with the value on you paint brush. I select a joint, and lets say an area on my model had .5 value, and I want that joint to have no control over that area so I set my value to zero and paint over that .5 area. The color will change to black, and the join no longer has control over that area. "Add" adds value to an area, pretty straight forward. "Scale" subtracts value from an area, and smooth more or less evenly distributes the values, making the paint smoother. You want to try and paint the area around the joint, and get rid of areas that are far from it.

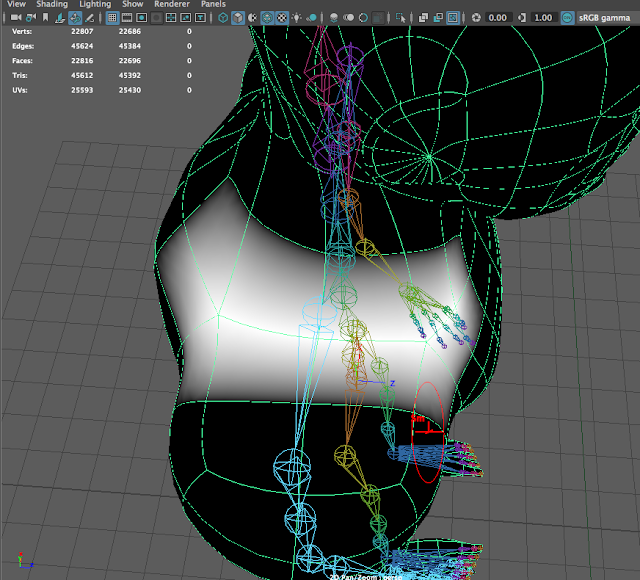
Ok, so now here I have my model, with the clavicle joint selected (in light blue). My brush is a red circle with a triangle like shape in the center. My brush has a value set to zero. Watch what happens when I paint over the shoulder with green.
The area turns black. This shows that the joint no longer controls the side of the shoulder. Notice how my brush got larger. You can hold "B" and drag your mouse to change the size of your brush on the fly.
 Here I finish painting over the upper part of the shoulder, but wait. It seems as if I have removed the area around the joint. I want to give it full control, so I am going to add a value of 1.000 and paint over the clavicle. Before I go to the side menu and change the value, there is a way to quickly switch from a lower value to a higher value. Hold "Cntrl" and paint. This changes the value to the "inverted" value, and allows you to paint with it as long as you have "control"selected. For example. My value is 0.000. The inverted value would be 1.000. What Maya does is it takes the inverted value to be the value you have set minus 1. It is a time saving shortcut that is noteworthy.
As you see here I have finished painting the weights around the clavicle. The joint selected will now control the faces in white when moved. This tool is incredibly important for animation, because it allows for cleaner movement and therefore cleaner animation.


No comments:
Post a Comment